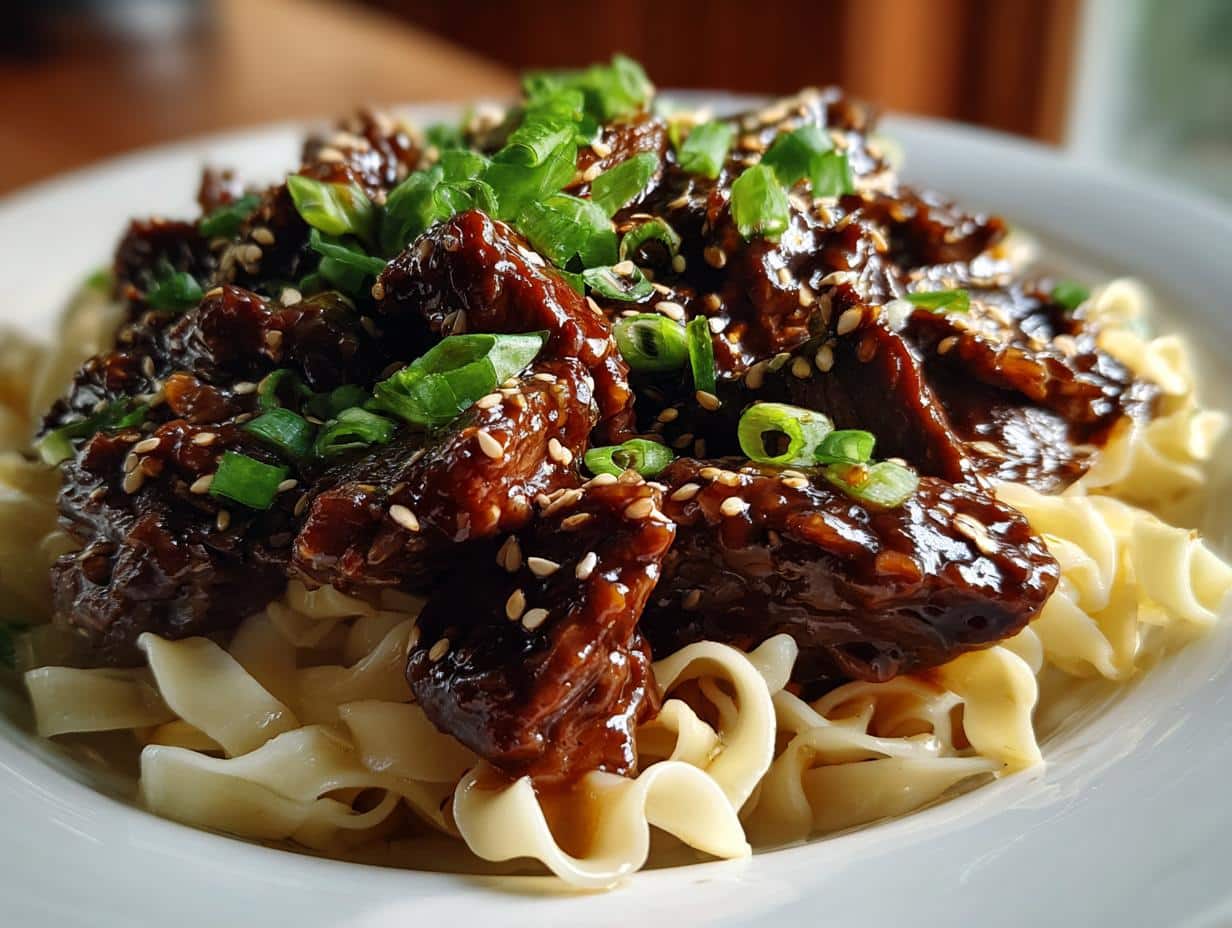

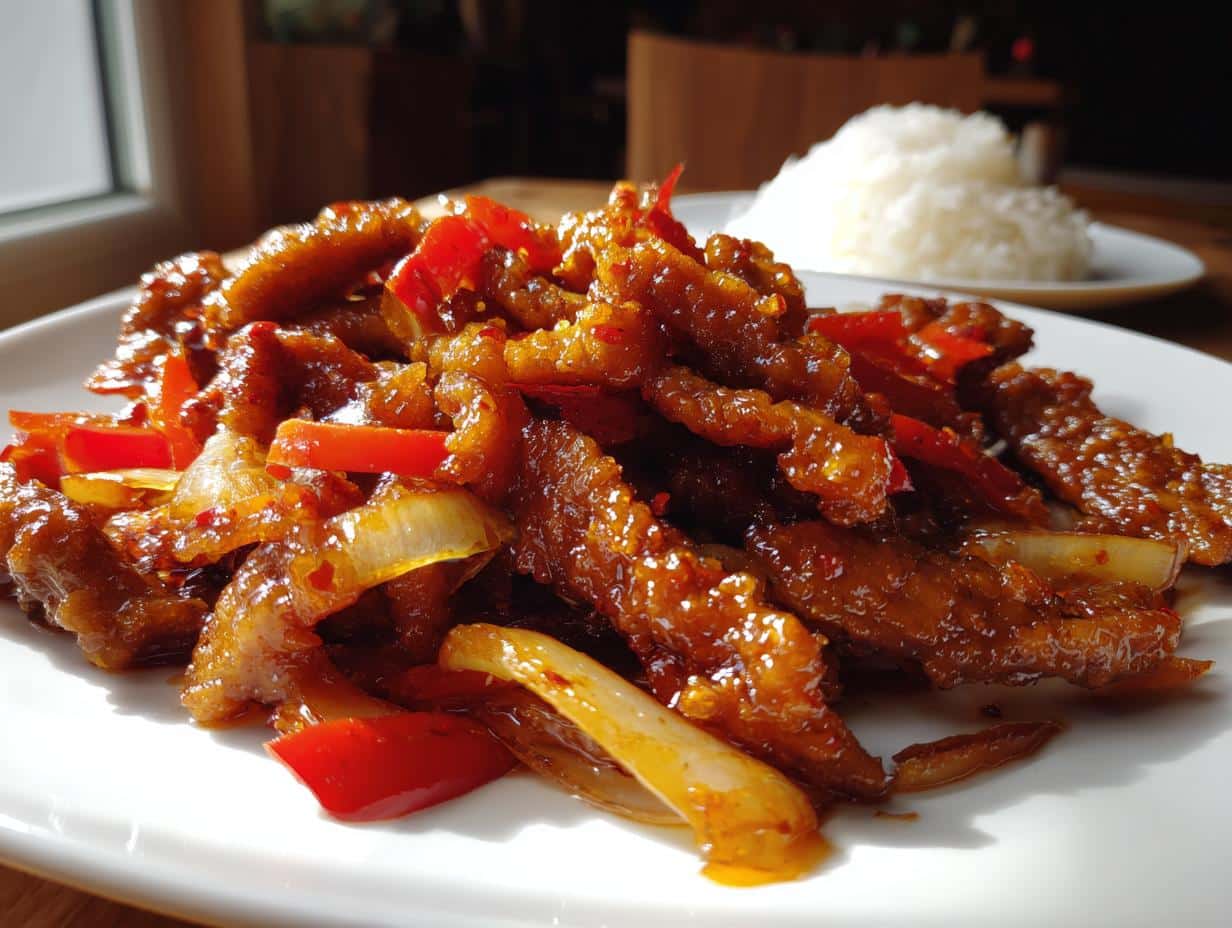
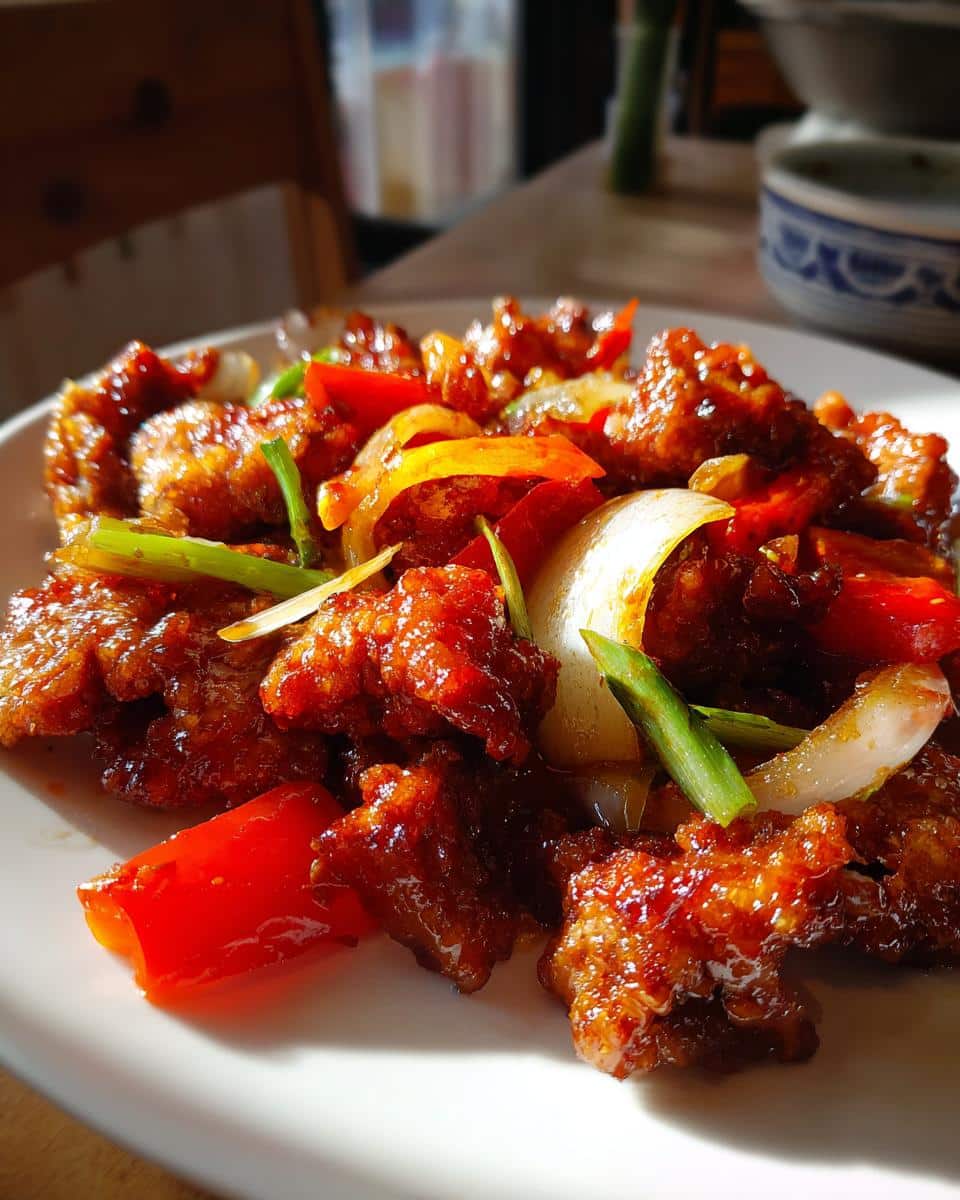
Oh my gosh, Beijing Beef has been my absolute favorite Chinese takeout order since I was a kid! That perfect crispy-crunchy beef coated in that sweet, tangy, slightly spicy sauce? It’s pure magic, I tell you. I used to beg my mom to order it every Friday night, and now I’ve perfected my own homemade version that’s even better than the restaurant stuff. The secret? Getting that beef extra crispy and nailing the sauce balance – not too sweet, not too vinegary. Trust me, once you try this Beijing Beef recipe, you’ll never look at takeout menus the same way again!
Why You’ll Love This Beijing Beef
This Beijing Beef recipe is a total game-changer—here’s why:
- Crispy perfection: That double-coating (cornstarch + egg) gives you beef so crunchy, you’ll hear the first bite!
- 30-minute magic: Faster than takeout delivery—seriously, it’s done before your rice cooker dings.
- Flavor bomb: Sweet hoisin, tangy vinegar, and just enough heat from those pepper flakes? *Chef’s kiss*.
- Super versatile: Swap veggies, adjust spice, or even use chicken—it’s foolproof.
My family goes nuts for this every time. (And yes, it’s totally okay to lick the plate.)
Beijing Beef Ingredients
Gather these simple ingredients – you probably have most in your pantry already! (Pro tip: Prep everything before you start cooking – this dish moves fast!)
- For the beef: 1 lb flank steak (thinly sliced against the grain), 1/2 cup cornstarch, 2 eggs (beaten)
- For the veggies: 1 red bell pepper (sliced), 1 onion (sliced), 3 cloves garlic (minced)
- For that amazing sauce: 1/4 cup soy sauce, 2 tbsp rice vinegar, 2 tbsp hoisin sauce, 1 tbsp brown sugar, 1 tsp red pepper flakes
Plus 1/4 cup vegetable oil for frying (peanut oil works great too if you have it!)
Ingredient Notes
Flank steak is my go-to because it stays tender when sliced thin – but sirloin works in a pinch. Hoisin sauce (that thick, sweet Asian BBQ sauce) is the flavor MVP here – find it in the international aisle. No cornstarch? Arrowroot or potato starch make fine substitutes. And if you’re gluten-free, just use tamari instead of soy sauce – easy swap!
How to Make Beijing Beef
Okay, here’s where the magic happens! I’ve made this recipe so many times I could do it in my sleep, but don’t worry – I’ll walk you through every crispy, saucy step. The key is moving fast and keeping that oil hot. Ready? Let’s get wok-ing! (See what I did there?)
Step 1: Prep the Beef
First, lay your flank steak flat and slice it against the grain – this is the secret to tender beef every time. Make those strips thin, about 1/4 inch thick. Now for the fun part: toss the beef in cornstarch until it’s fully coated, then dunk it in those beaten eggs. You want every piece to get a nice, even coating – this gives you that incredible crunch! When frying, work in batches so you don’t overcrowd the pan. Trust me, I learned this the hard way – too much beef lowers the oil temp and you’ll get soggy results instead of crispy perfection.
Step 2: Fry the Vegetables
After the beef is done, keep that oil in the pan (flavor bonus!) and toss in your sliced bell pepper and onion. Stir-fry them just until they start to soften but still have some bite – about 2 minutes. Then add the garlic and cook for just 30 seconds more. You’ll know it’s ready when the kitchen smells amazing and the garlic is golden but not brown. (Burnt garlic = bitter sauce, and we don’t want that!)
Step 3: Make the Sauce
While the veggies cook, whisk together all your sauce ingredients in a bowl. When you pour it into the pan with the veggies, let it bubble away for about a minute – you’re looking for it to thicken slightly and get glossy. Don’t walk away now! The sugar can burn if you’re not careful. When the sauce coats the back of a spoon nicely, it’s ready for its starring role.
Step 4: Combine and Serve
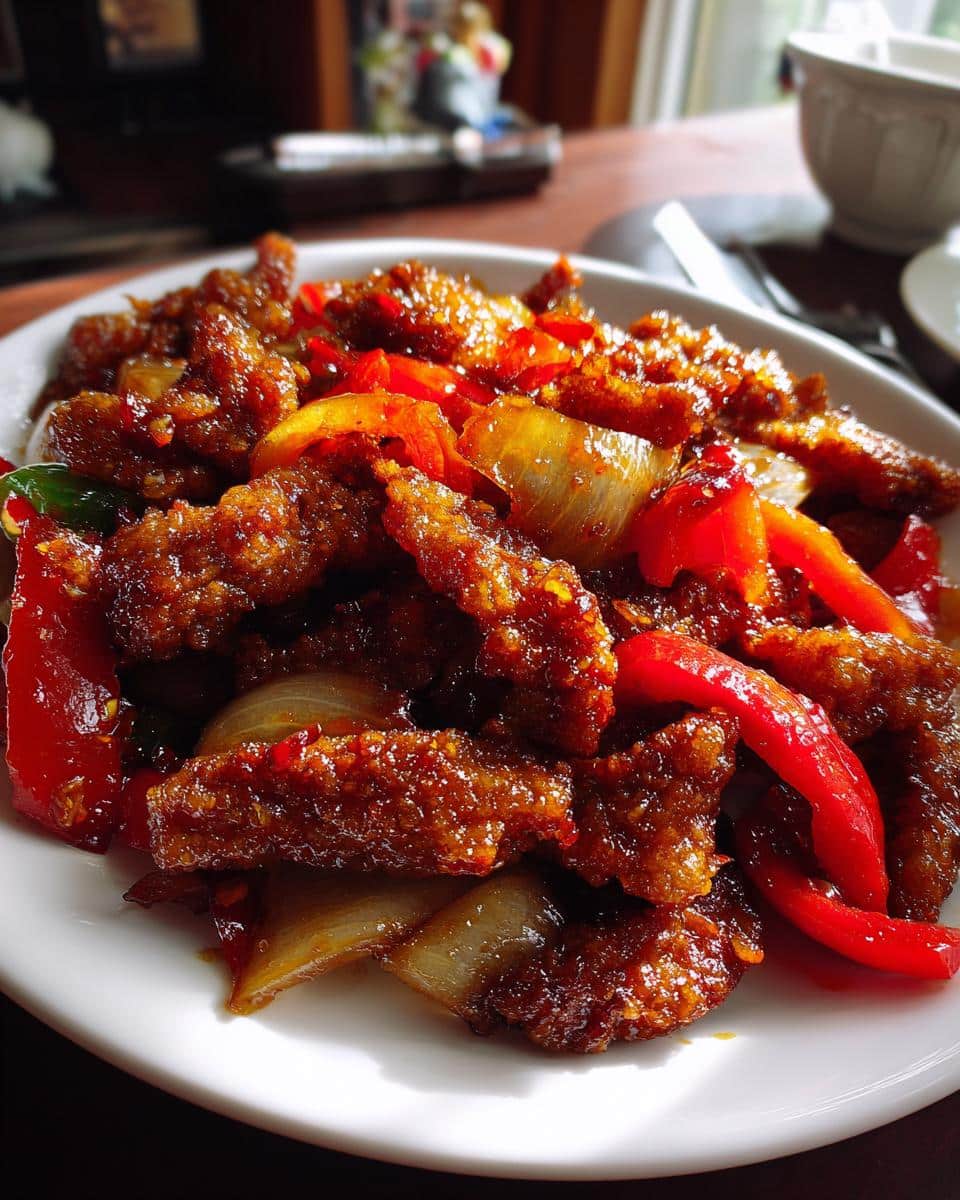
Here comes the best part! Return that crispy beef to the pan and toss everything together just until the beef is coated in that gorgeous sauce. Don’t overdo it – we worked hard for that crunch! Serve immediately while it’s piping hot over steamed rice. Pro tip: Have extra napkins ready because this Beijing Beef is finger-licking good!
Tips for Perfect Beijing Beef
After making this dish countless times (and eating my share of “learning experiences”), here are my can’t-miss tips:
- Oil temp is everything: Keep it at 350°F – too cold = soggy beef, too hot = burnt coating. I test with a breadcrumb – it should sizzle immediately.
- Paper-thin slices: Freeze the beef for 20 minutes first – it makes slicing against the grain way easier.
- Spice control: Start with 1/2 tsp red pepper flakes, then add more at the end if you want extra kick.
- Dry beef = crispy beef: Pat those slices bone-dry with paper towels before coating – moisture is the enemy of crunch!
Follow these, and you’ll get takeout-level perfection every single time.
Beijing Beef Variations
One of my favorite things about this recipe? It’s crazy adaptable! Here are some delicious twists I’ve tried:
- Protein swaps: Chicken thighs work beautifully (just fry a minute longer), or use extra-firm tofu for a vegetarian version – press it well first!
- Veggie mix-ups: Try broccoli florets or snap peas instead of bell peppers – add them a minute earlier since they’re crunchier.
- Sauce experiments: Swap honey for brown sugar, add orange zest, or mix in a teaspoon of sesame oil for depth.
Honestly? I’ve never met a variation I didn’t like. Get creative – that’s half the fun!
Serving Suggestions
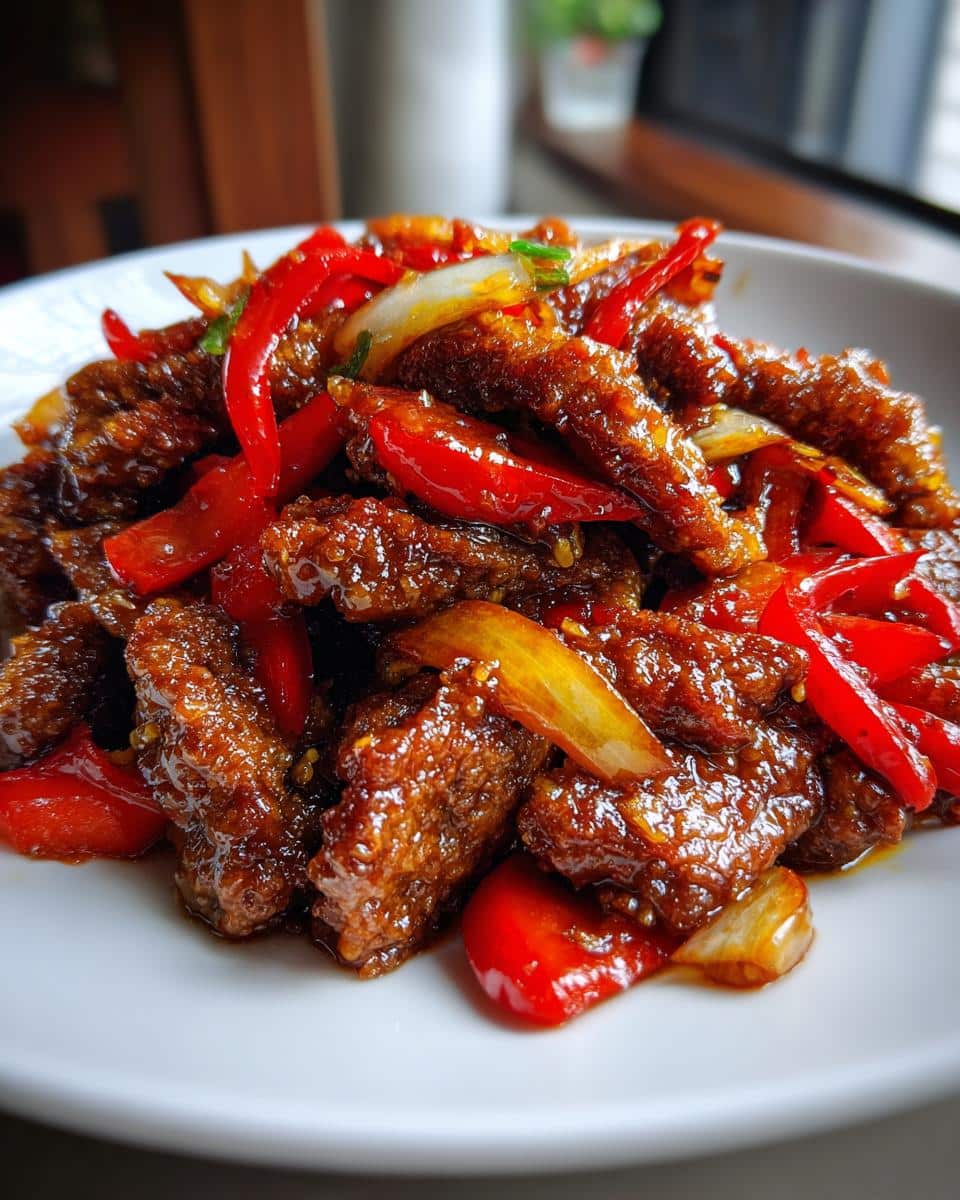
Here’s how I love to serve my Beijing Beef for the ultimate takeout-at-home experience:
- Steamed jasmine rice is my go-to – it soaks up that amazing sauce perfectly
- For fun, try it over crispy noodles (the kind that sizzle when the sauce hits them!)
- Balance the richness with simple stir-fried bok choy or snap peas
Don’t forget extra napkins – this is gloriously messy eating at its best!
Beijing Beef Storage & Reheating
Leftovers? (As if!) But if you miraculously have some, store it in an airtight container for up to 3 days. Here’s my trick: reheat in a dry skillet over medium – it brings back that crispy magic better than any microwave ever could. Just stir until piping hot and serve over fresh rice. The sauce might thicken in the fridge, so add a splash of water if needed. Pro tip: The veggies will soften, but that beef can stay surprisingly crunchy if you reheat it right!
Beijing Beef FAQs
Q: Can I use another cut of beef?
Absolutely! While flank steak is my favorite for tenderness, sirloin or skirt steak work great too. Just remember – slice thin and against the grain. Chuck steak? Not so much – too chewy for this dish.
Q: How do I make this gluten-free?
Easy peasy! Swap regular soy sauce for tamari (it’s naturally GF) and double-check your hoisin sauce label. Use cornstarch or arrowroot powder for coating – they’re already gluten-free.
Q: Can I bake instead of fry the beef?
You can, but… (and this is a big but) you won’t get that signature crunch. If you must, spray the coated beef with oil and bake at 425°F until crispy – but trust me, pan-frying is worth it!
Q: Why does my sauce turn out too thin?
Ah, the classic rookie mistake! Make sure your sauce bubbles long enough to thicken – about 1-2 minutes. If it’s still runny, mix 1 tsp cornstarch with 1 tbsp water and stir it in while simmering.
Nutritional Information
Just a heads up – these are estimates (your exact numbers might vary a smidge based on ingredients). For one serving of this glorious Beijing Beef, you’re looking at:
- 350 calories – not bad for such a flavor-packed dish!
- 25g protein – thanks to that generous beef portion
- 25g carbs (mostly from that amazing sauce)
- 18g fat (but hey, we need some for all that crispiness!)
My philosophy? Life’s too short to count every calorie when food tastes this good!
Rate This Beijing Beef Recipe
Did you make this Beijing Beef? I’d love to hear how it turned out! Leave a quick rating below or snap a photo of your masterpiece – nothing makes me happier than seeing your crispy beef creations!
Print
Crispy Beijing Beef Recipe Ready in Just 30 Minutes
- Prep Time: 15 minutes
- Cook Time: 15 minutes
- Total Time: 30 minutes
- Yield: 4 servings 1x
- Category: Main Dish
- Method: Stir-Fry
- Cuisine: Chinese-American
- Diet: Low Lactose
Description
Beijing Beef is a popular Chinese-American dish featuring crispy beef strips coated in a sweet and tangy sauce.
Ingredients
- 1 lb beef flank steak, thinly sliced
- 1/2 cup cornstarch
- 2 eggs, beaten
- 1/4 cup vegetable oil
- 1 red bell pepper, sliced
- 1 onion, sliced
- 3 cloves garlic, minced
- 1/4 cup soy sauce
- 2 tbsp rice vinegar
- 2 tbsp hoisin sauce
- 1 tbsp brown sugar
- 1 tsp red pepper flakes
Instructions
- Slice beef into thin strips.
- Coat beef in cornstarch, then dip in beaten eggs.
- Heat oil in a pan and fry beef until crispy. Remove and set aside.
- In the same pan, sauté bell pepper, onion, and garlic until tender.
- Mix soy sauce, rice vinegar, hoisin sauce, brown sugar, and red pepper flakes in a bowl.
- Add sauce to the pan and stir until thickened.
- Return beef to the pan and toss to coat.
- Serve hot.
Notes
- Use flank steak for best results.
- Adjust red pepper flakes for desired spiciness.
- Serve with steamed rice.
Nutrition
- Serving Size: 1 serving
- Calories: 350
- Sugar: 10g
- Sodium: 800mg
- Fat: 18g
- Saturated Fat: 5g
- Unsaturated Fat: 10g
- Trans Fat: 0g
- Carbohydrates: 25g
- Fiber: 2g
- Protein: 25g
- Cholesterol: 120mg
Keywords: Beijing Beef, Chinese beef, crispy beef, stir-fry