Why You’ll Love This Recipe:
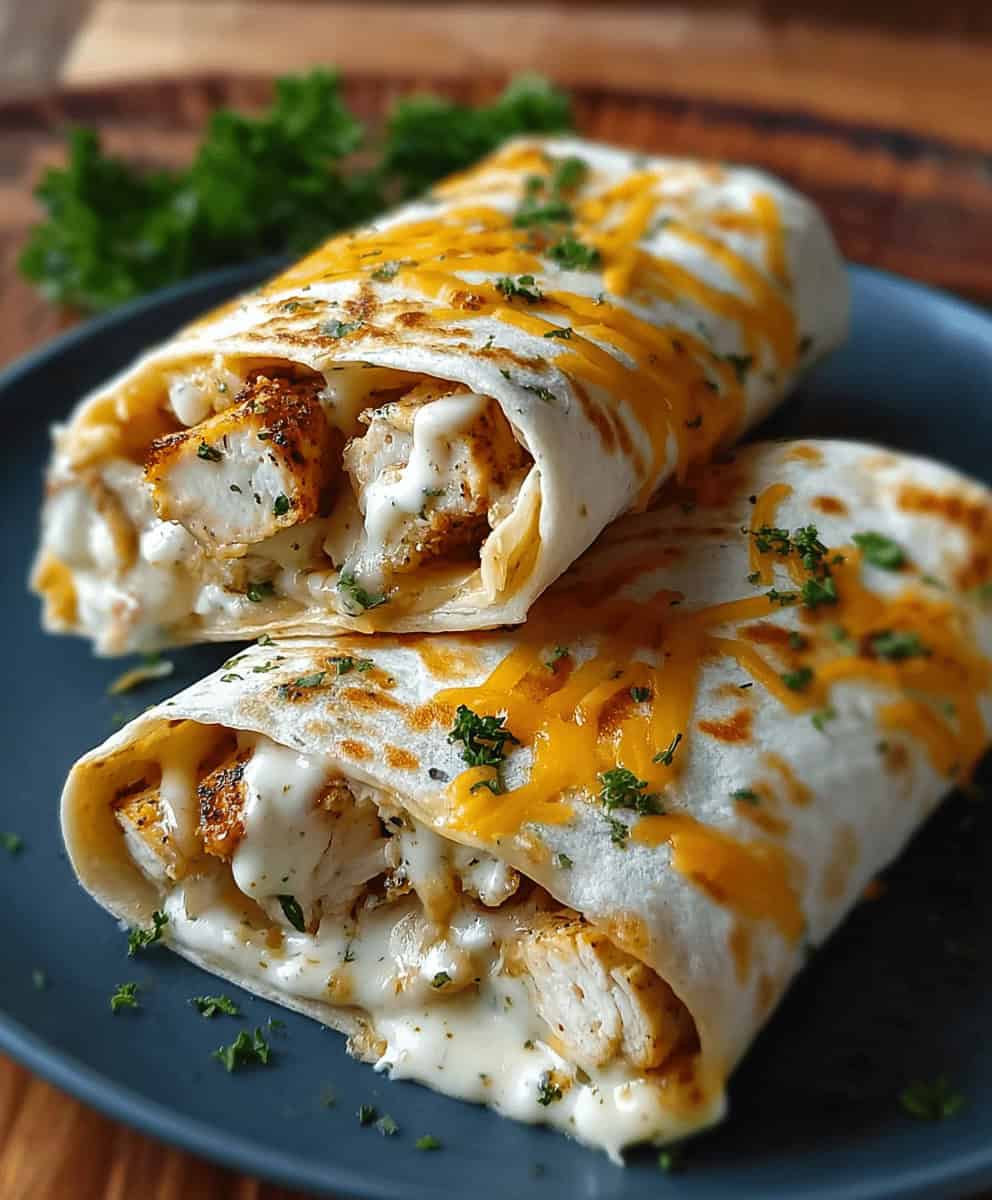
These Cheesy Garlic Chicken Wraps are the perfect combination of tender, seasoned chicken, melted cheese, and rich garlic flavor all wrapped up in a soft tortilla. What makes this recipe truly special is how it transforms simple ingredients into a restaurant-quality meal that’s ready in just 20 minutes. The creamy garlic sauce adds an irresistible depth of flavor that pairs beautifully with the perfectly seasoned chicken and gooey cheese blend.
Whether you’re looking for a quick weeknight dinner, a satisfying lunch, or something to meal prep for the week ahead, these wraps deliver on both convenience and taste. They’re also incredibly versatile – you can customize them with your favorite vegetables or adjust the spice level to suit your preferences. The best part? They’re made with ingredients you likely already have in your kitchen.
Ingredients You’ll Need:
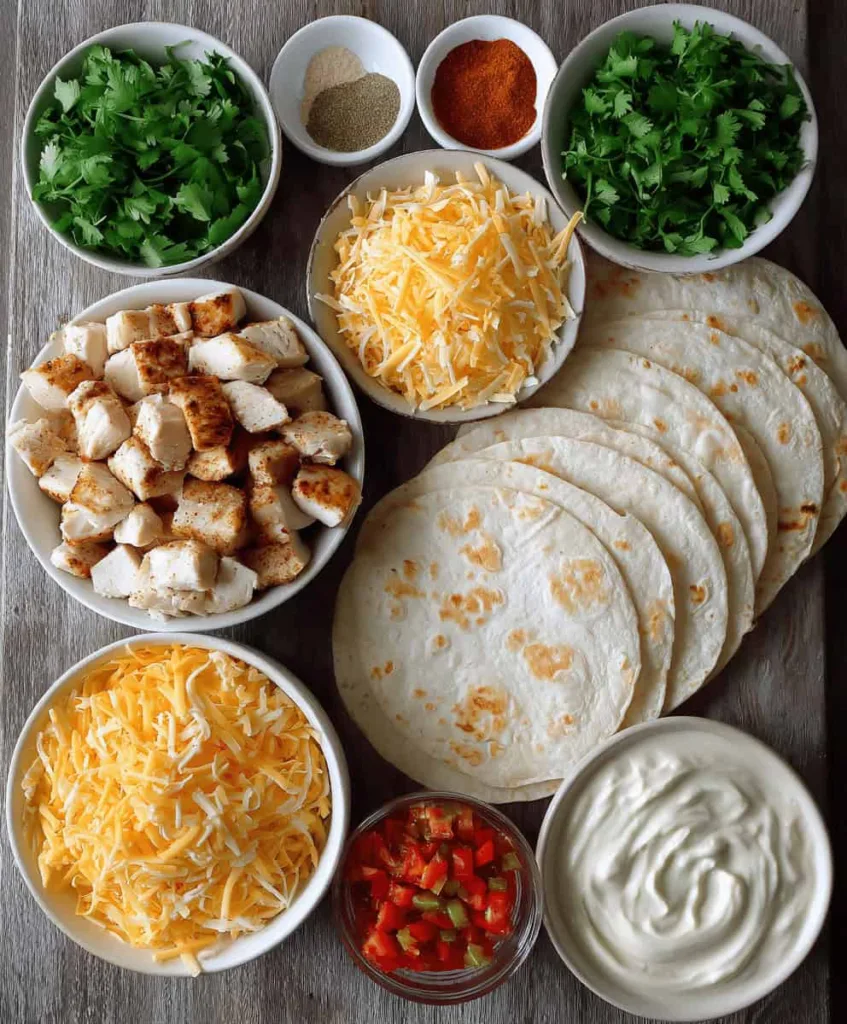
- 2 large chicken breasts (diced)
- 1 tbsp olive oil
- 2 tsp garlic powder
- 1 tsp onion powder
- 1 tsp paprika
- Salt and pepper (to taste)
- 1 cup shredded cheddar cheese
- ½ cup shredded mozzarella cheese
- 4 large flour tortillas
- ½ cup creamy garlic sauce (store-bought or homemade)
- Fresh parsley (optional for garnish)
How to Make Cheesy Garlic Chicken Wraps:
Step-by-Step Instructions:
Step 1: Prepare the Chicken Start by dicing your chicken breasts into bite-sized pieces, approximately ¾-inch cubes. This ensures even cooking and makes the wraps easier to eat. Pat the chicken dry with paper towels and season generously with garlic powder, onion powder, paprika, salt, and pepper.
Step 2: Cook the Chicken Heat olive oil in a large skillet over medium-high heat. Once the oil is shimmering, add the seasoned chicken pieces in a single layer. Cook for 6-8 minutes, stirring occasionally, until the chicken is golden brown on all sides and cooked through (internal temperature should reach 165°F).
Step 3: Warm the Tortillas While the chicken is cooking, warm your flour tortillas. You can do this by wrapping them in a damp paper towel and microwaving for 30 seconds, or by heating them individually in a dry skillet for 30 seconds per side.
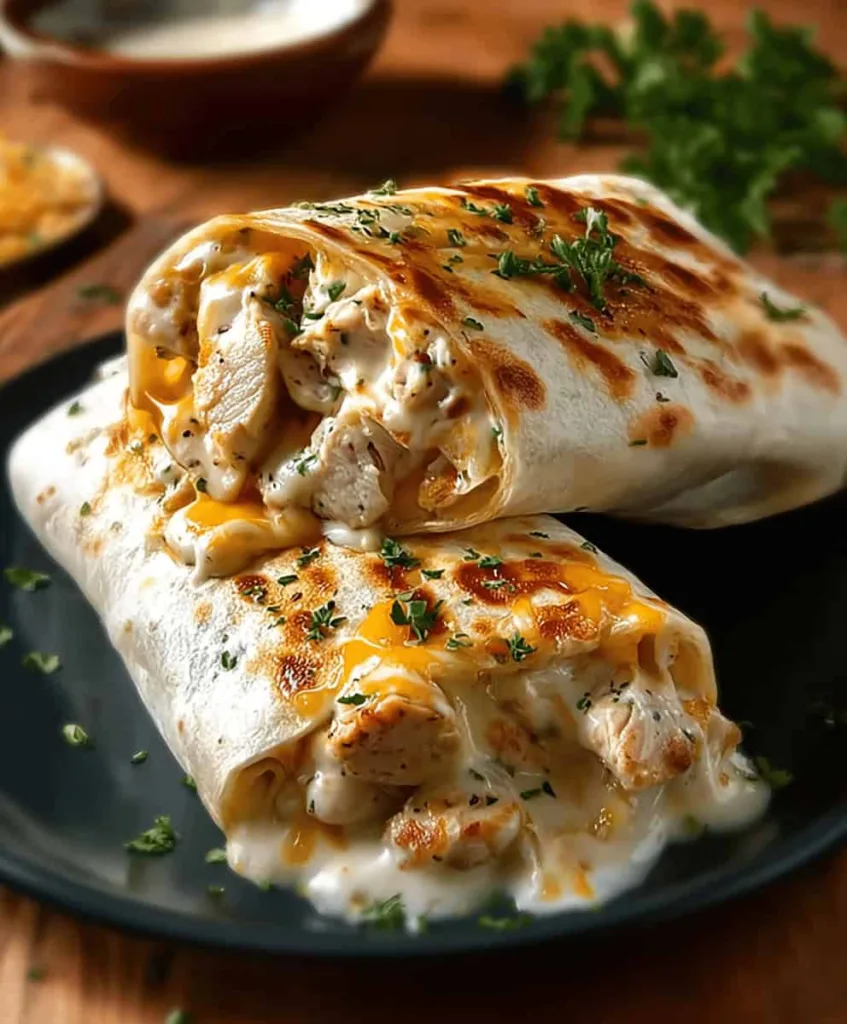
Step 4: Assemble the Wraps Place each warm tortilla on a clean surface. Spread 2 tablespoons of creamy garlic sauce down the center of each tortilla, leaving about 2 inches from the edges. Divide the cooked chicken evenly among the tortillas, then top with the cheddar and mozzarella cheese blend.
Step 5: Wrap and Serve Fold the bottom edge of each tortilla up over the filling, then fold in the sides and roll tightly from bottom to top. Cut each wrap in half diagonally and serve immediately while the cheese is still melted and the chicken is warm.
Helpful Tips:
For Perfect Chicken: Don’t overcrowd the pan when cooking the chicken. If necessary, cook in batches to ensure proper browning and prevent steaming.
Cheese Melting Trick: For extra melty cheese, place the assembled wraps (before cutting) in a warm skillet for 1-2 minutes per side, or wrap them in foil and place in a 350°F oven for 3-4 minutes.
Tortilla Selection: Choose high-quality, fresh flour tortillas for the best texture and flexibility. Whole wheat tortillas work well too for added nutrition.
Make-Ahead Option: You can prep the chicken and garlic sauce ahead of time. Store separately in the refrigerator and assemble the wraps when ready to eat.
Details:
Prep Time: 10 minutes Cook Time: 10 minutes Total Time: 20 minutes Servings: 4 wraps Difficulty Level: Easy
Nutritional Information (per wrap):
- Calories: Approximately 450
- Protein: 32g
- Carbohydrates: 28g
- Fat: 24g
Notes:
The creamy garlic sauce is the star of this recipe, so don’t skimp on quality. If making homemade, combine mayonnaise, minced garlic, lemon juice, and a pinch of salt for a simple version. For store-bought options, look for garlic aioli or creamy Caesar dressing as alternatives.
Feel free to customize these wraps with additional ingredients like diced tomatoes, lettuce, red onions, or jalapeños for extra flavor and texture. The recipe is also easily scalable – simply multiply the ingredients for larger batches or meal prep.
For a lighter version, you can use reduced-fat cheese and substitute Greek yogurt mixed with garlic powder for the creamy garlic sauce.
Frequently Asked Questions:
Q: Can I use chicken thighs instead of breasts? A: Absolutely! Chicken thighs will work wonderfully and may even add more flavor. Just adjust the cooking time as needed since thighs may take slightly longer to cook through.
Q: What if I don’t have creamy garlic sauce? A: You can make a quick version by mixing mayonnaise with minced garlic, lemon juice, and salt. Ranch dressing or Caesar dressing also work as substitutes.
Q: Can I make these wraps ahead of time? A: While best served fresh, you can assemble the wraps and store them wrapped in foil in the refrigerator for up to 24 hours. The tortillas may become slightly soggy, but they’ll still be delicious.
Q: Are these wraps freezer-friendly? A: Yes, but freeze the cooked chicken separately from the tortillas and cheese. Assemble fresh wraps when ready to eat for the best texture.
Q: What sides go well with these wraps? A: These pair beautifully with sweet potato fries, a simple green salad, coleslaw, or tortilla chips with salsa or guacamole.
Storage Instructions:
Refrigerator Storage: Store leftover assembled wraps wrapped tightly in aluminum foil or plastic wrap in the refrigerator for up to 2 days. The texture is best when consumed within 24 hours.
Component Storage: For best results, store the cooked chicken, cheese, and tortillas separately in airtight containers in the refrigerator for up to 3 days. Assemble fresh wraps when ready to eat.
Reheating: To reheat, wrap in a damp paper towel and microwave for 30-45 seconds, or warm in a skillet over medium heat for 2-3 minutes per side. You can also reheat in the oven at 350°F for 5-7 minutes.
Freezing: The cooked, seasoned chicken can be frozen for up to 3 months. Thaw overnight in the refrigerator before using. Assembled wraps don’t freeze well due to the tortillas and cheese.
Conclusion:
These Cheesy Garlic Chicken Wraps prove that incredible flavor doesn’t require complicated techniques or hard-to-find ingredients. With just a handful of pantry staples and 20 minutes of your time, you can create a meal that rivals your favorite restaurant offerings. The combination of perfectly seasoned chicken, melted cheese, and creamy garlic sauce wrapped in a soft tortilla creates a satisfying experience that works for any occasion.
Whether you’re feeding a busy family, looking for a quick lunch solution, or want to impress guests with minimal effort, this Cheesy Garlic Chicken Wraps recipe delivers every time. The versatility of the recipe means you can make it your own with different vegetables, cheese combinations, or spice levels while maintaining the delicious core flavors that make these wraps so special.
Try this recipe today and discover why these cheesy, garlicky wraps are destined to become a regular feature in your meal rotation. Your taste buds will thank you, and your family will be asking for seconds!